Complete the following steps to configure the Allotrac Interface with Idealpos.
Before setting up Allotrac, enable the Allotrac Licence for each POS terminal that will be connecting to Allotrac.
You may need to speak to our Sales Team in order to get the Allotrac option enabled for each POS terminal that requires it.
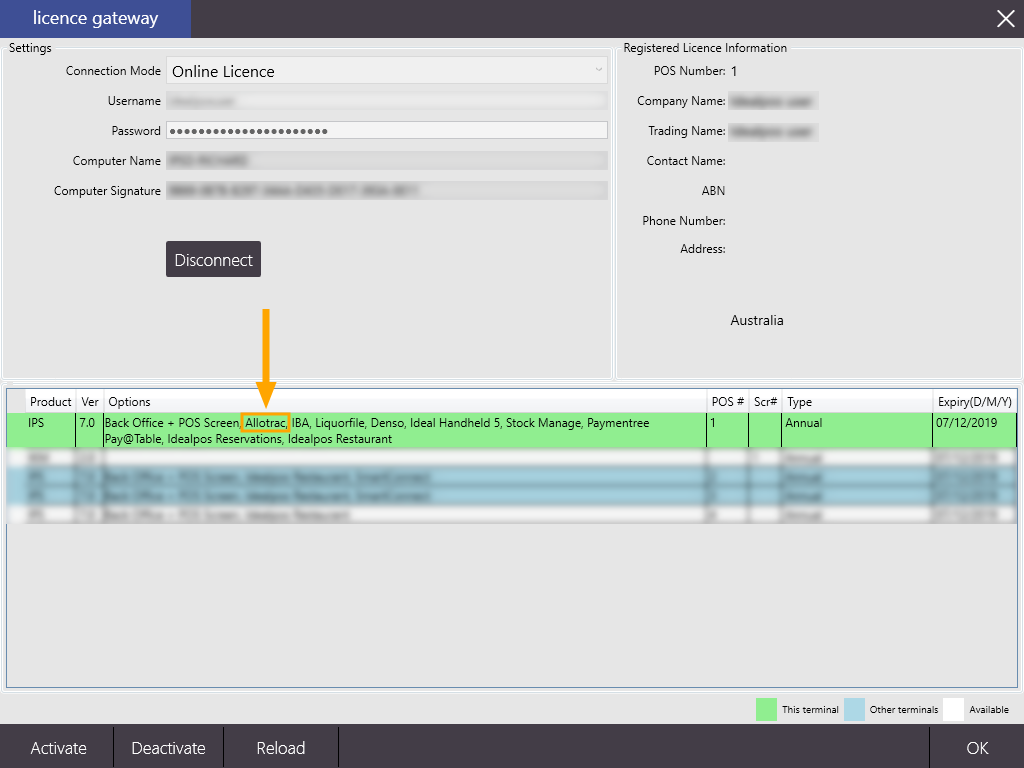
Go to Setup > Licence Gateway to check/confirm whether you have Allotrac enabled.
Once the Licence has been enabled, you may need to Reload your licence via the Reload button on the Licence Gateway screen.
When Allotrac is enabled, you should see the licence displayed in the Licence Gateway as per the below example.
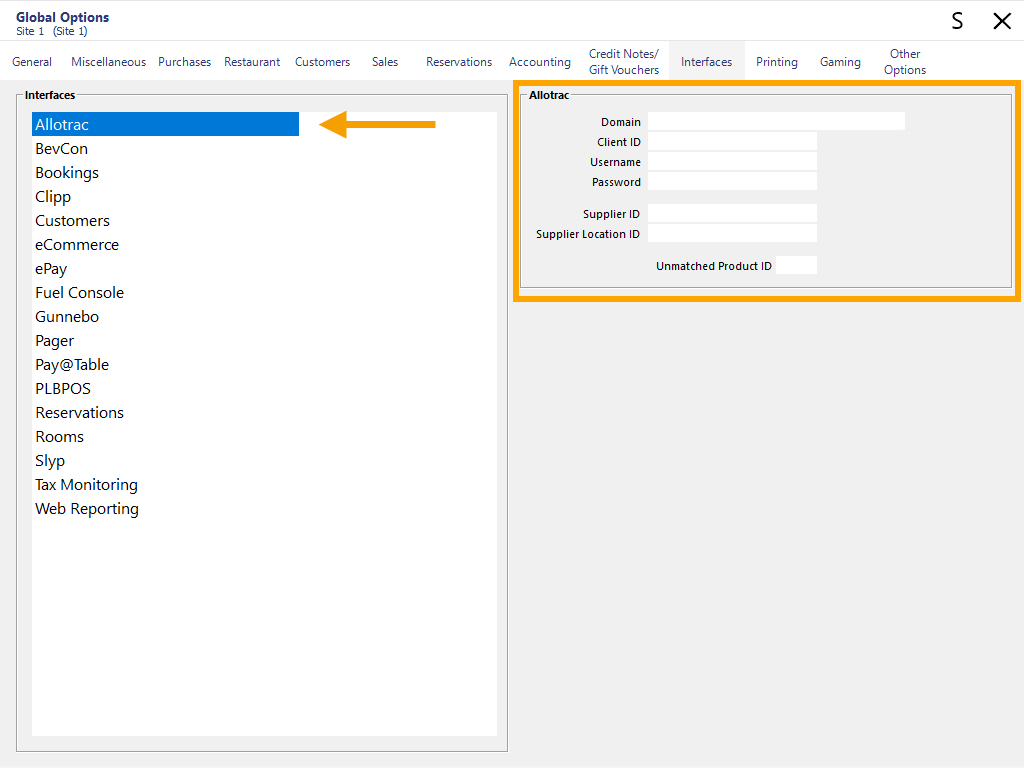
To configure Idealpos to communicate with Allotrac, go to: Setup > Global Options > Interfaces.
Under the credentials supplied by Allotrac into each of the fields within the Allotrac section:
Note that the Unmatched Product ID refers to the Product ID configured in Allotrac for any items which can't be matched.
When Allotrac receives an order from Idealpos that contains an item which doesn't exist in Allotrac, the Unmatched Product ID will be used instead/in place of the ordered product.
This step is only required for Idealpos v8 Build 10 or older.
If the User-Defined option exists and Idealpos is later upgraded to v8 Build 11 or newer, this User-Defined setting will simply be ignored.
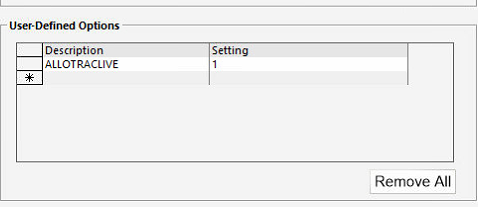
Go to: Back Office > Setup > POS Terminals > Select POS Terminal > Modify > POS Settings > User-Defined Options.
Add the following User-Defined option:
Description: ALLOTRACLIVE
Setting: 1
Repeat this step on each POS Terminal that requires the Allotrac functionality.
Any items that are required to be sent to Allotrac will need to have an Allotrac Product ID assigned to them.
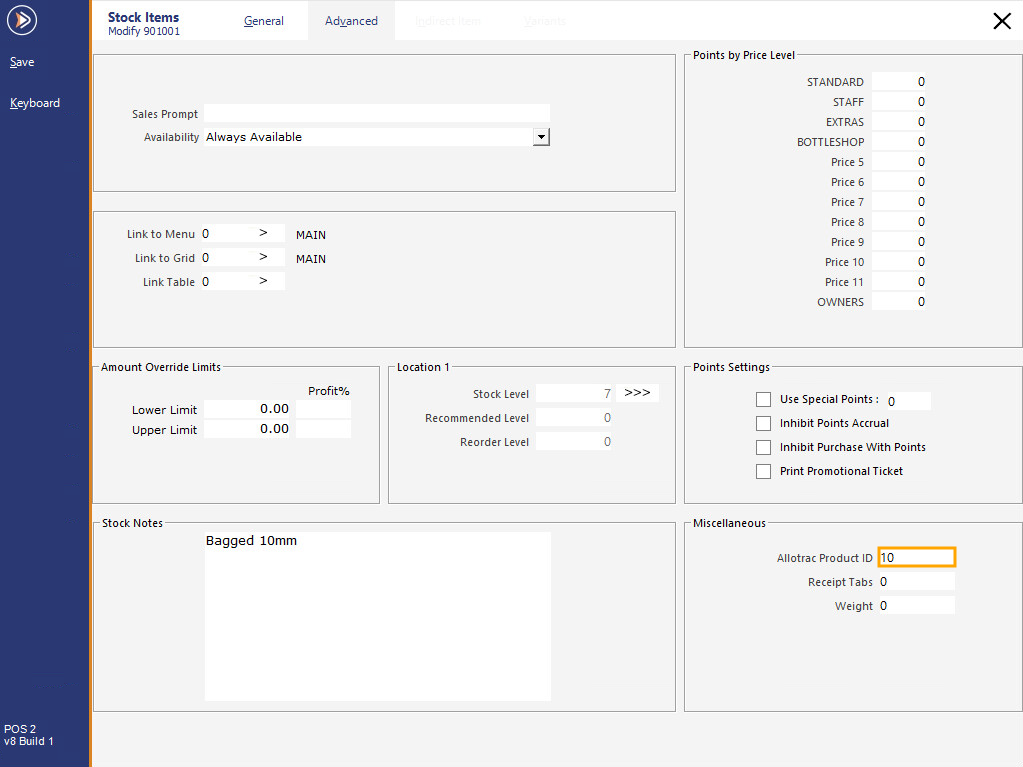
To assign an Allotrac Product ID to a Stock Item in Idealpos, go to: File > Stock Control > Stock Items > Modify Item > Advanced
Then in the Allotrac Product ID field, enter the Product ID of the Item as it exists in Allotrac.
Products/Items can be maintained in Allotrac as follows.
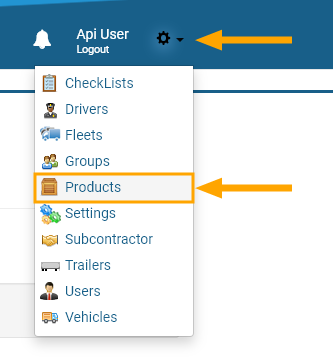
Within the Allotrac Website/Interface, select the Settings icon on the top-right corner, then select "Products".
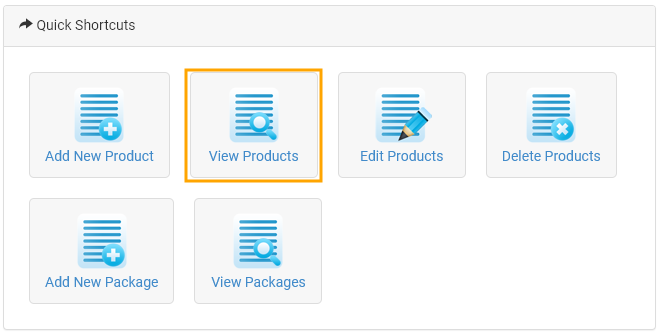
From the Quick Shortcuts menu, select "View Products".
Products can also be added, edited or deleted via the other buttons available on this screen.
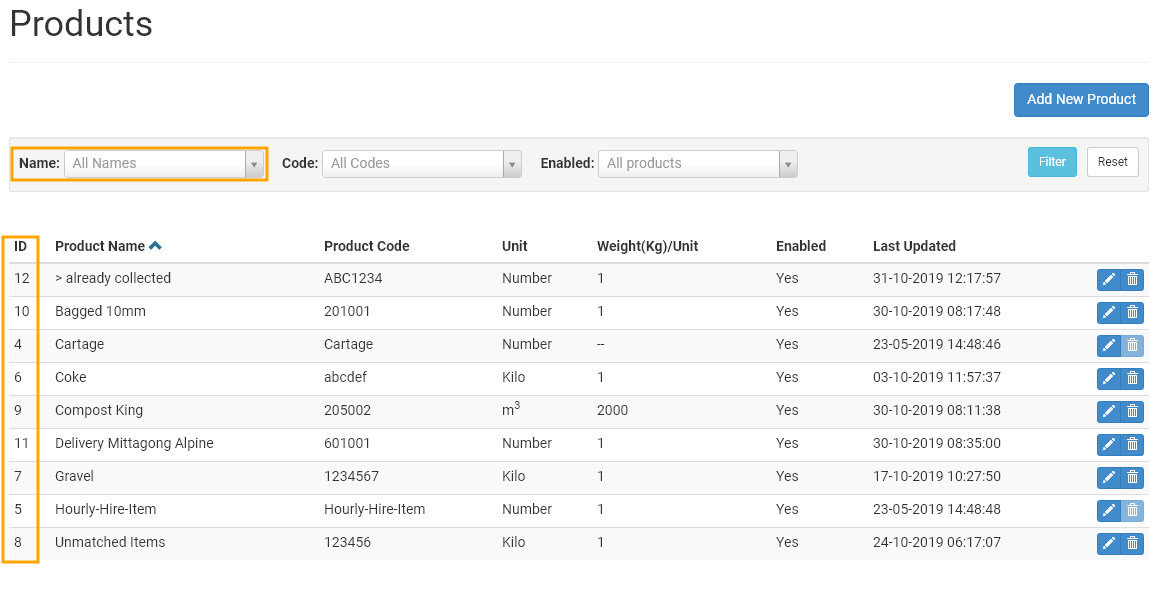
The Product IDs are listed on the left-hand side as per the below example.
Find the Product ID from the list that corresponds to the Stock Item in Idealpos and enter it into the Allotrac Product ID field in step 3 above.
If required, you can also search for the Product/Stock Item Name via the Name field at the top of the screen.
When you add a Customer to a sale and the items they purchase require a delivery, a Delivery Job button will be used to create a Delivery Job and send the job to Allotrac.
To create the button, go to: Setup > POS Screen > POS Screen Setup > Select the POS Screen Layout > Buttons.
Locate a suitable POS screen tab, then find a blank button and select it.
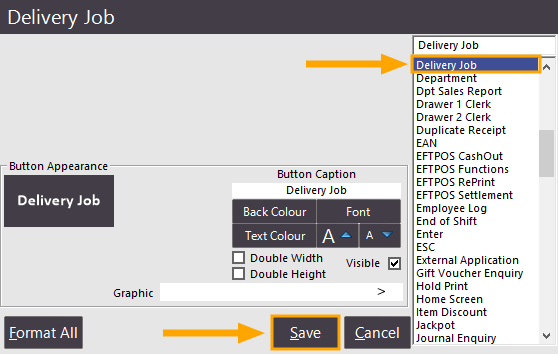
From the list of functions, select "Delivery Job".
Configure the Button Appearance (Button Caption, Background Colour, Font, Text Colour, etc.).
Press "Save" once the button has been configured, then close the POS Screen Layout windows.